In the day and age of YouTube and Twitch, who wouldn't want to be a part of such incredible communities? These platforms are an easy way to reach out to people and share content with the entirety of the world, so long as some basic equipment is available.
Twitch in particular has flourished in the past years. The streaming service allows people to connect in real time with their favorite creators, which bridges a gap that YouTube has had between fans and creators for years. For any aspiring streamers or people who are new to Twitch but interested in getting started, we have a handy guide on hosting prepared just for the occasion.
10 What's Hosting?
The purpose of Twitch is primarily to show one's own content. With set stream times, streamers can provide their audiences with extremely regular content, much in the same way people tune into TV shows.
However, Twitch isn't just about showcasing one's personal content. Streamers can also choose to host other streamers on their channel. This connects their streams into their channel directly, as though it was their content. If a Twitch streamer is hosting someone else, it will say so at the top of the stream.
9 Why Host?
It might seem strange for some people to want to host on Twitch. After all, so much of Twitch is about showcasing one's own content and trying to gather as many viewers as possible by hooking them in. However, there's much more to it.
By hosting another streamer, the host's channel remains active even though they're not currently streaming. It's a great back-up if a streamer can't make it to a stream, but still wants their viewers and followers to tune in. Moreover, it's nice to promote one another among streamers and create a sense of community.
8 Step 1: Go To Twitch
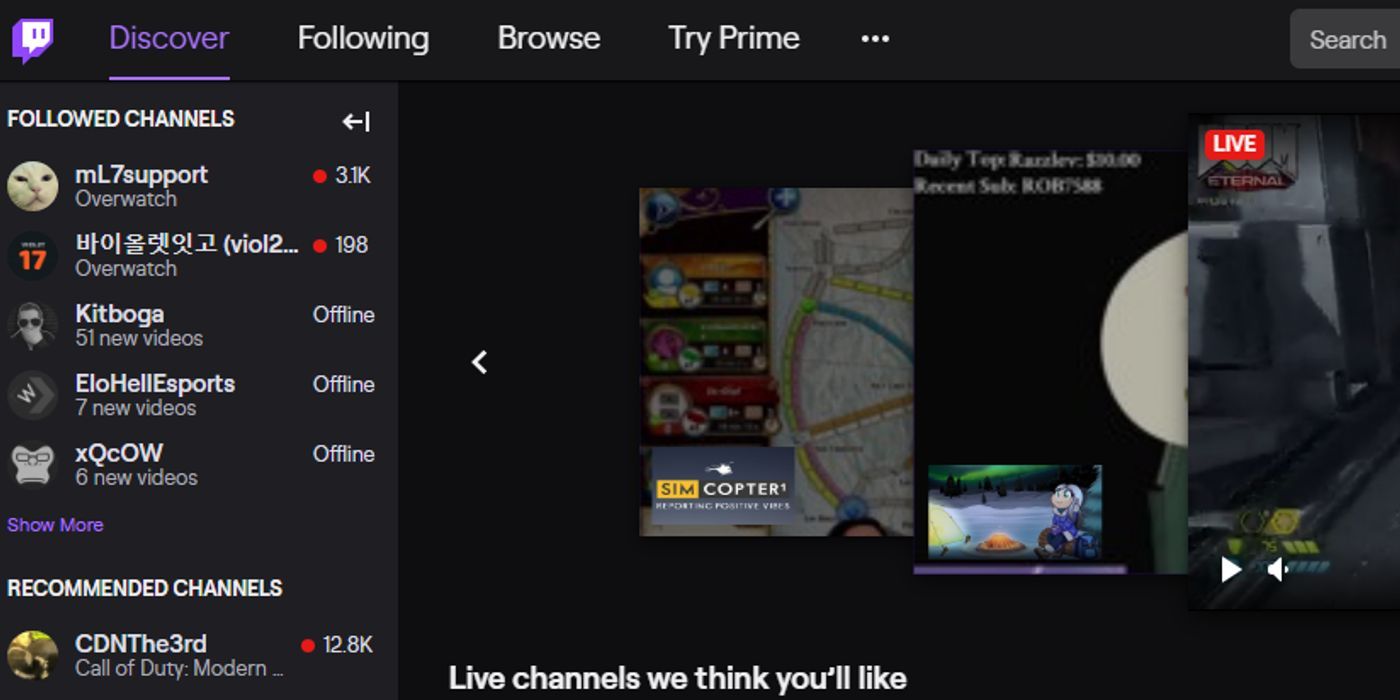
The first step of hosting is to actually go on the Twitch page on desktop. Hosting can't be done from the streaming software that a streamer uses; instead, it needs to be done through the Twitch website.
Alternatively, if the streamer is on the go, hosting can also be done from a smartphone or any other device, such as a tablet. It doesn't require special software, but the Twitch app needs to be downloaded onto the device for it to work.
7 Step 2: Setting Up A Channel
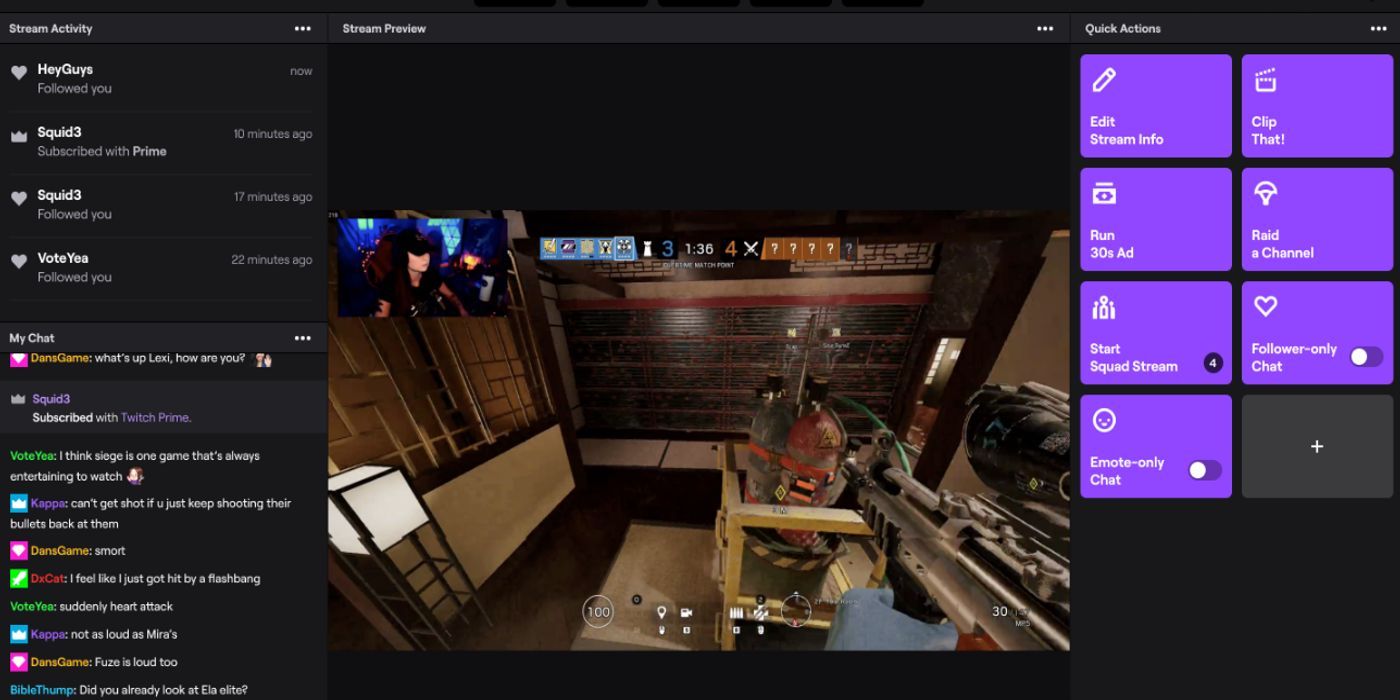
For those who are brand new to Twitch, this is a necessary step. Obviously, anyone who already has an account will also have an empty, default channel set up. After setting up an account and choosing a catchy channel name, the creator page can be accessed.
There's a ton of useful information on this creator page, including any activity from followers to subscribers to donations. It's good to keep this page around if one starts to stream on a regular basis.
6 Step 3: Go To Channel
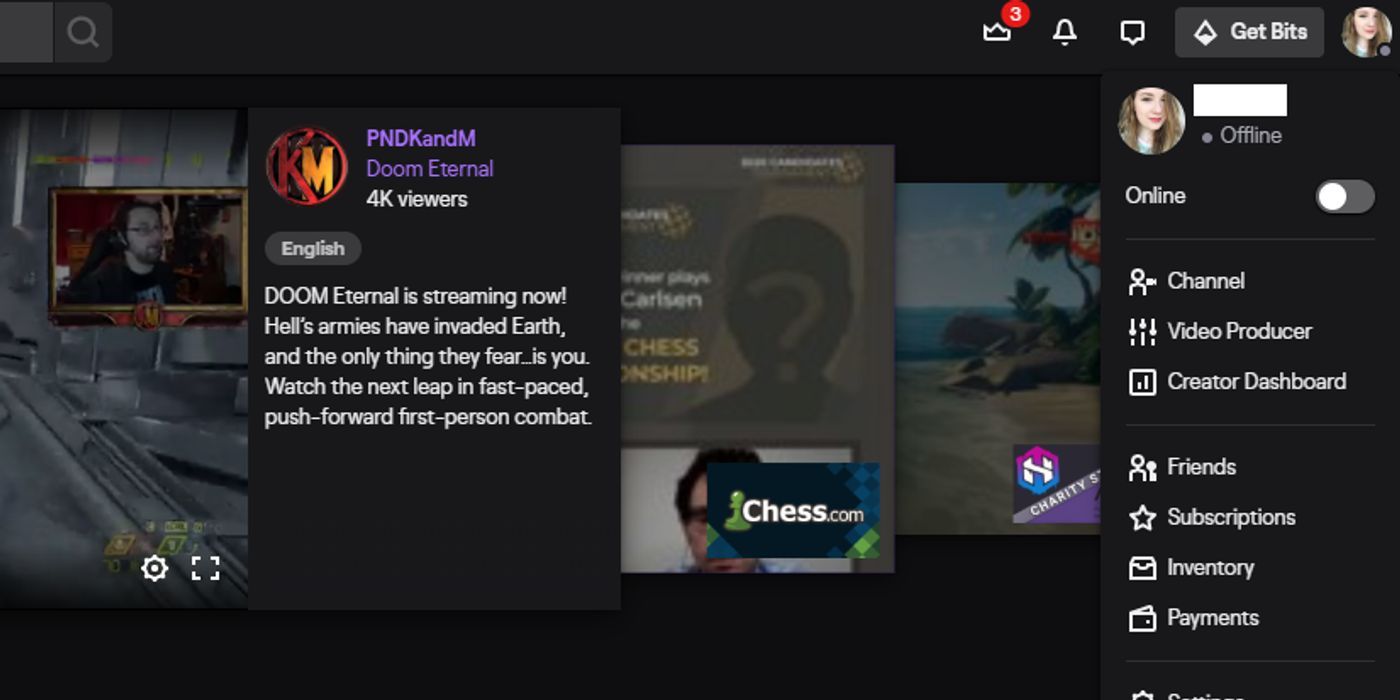
Once a channel has been set up, go to the main page of Twitch. At the top right corner, there will be a small icon with the avatar of your choice. If the avatar hasn't been changed, a default Twitch icon will be there instead.
Click on the icon, and a drop-down menu will appear. Go down the menu and click on the Channel link. This will take you to the main page of your channel, which is basically what all viewers will be able to see.
5 Step 4: Find Chat
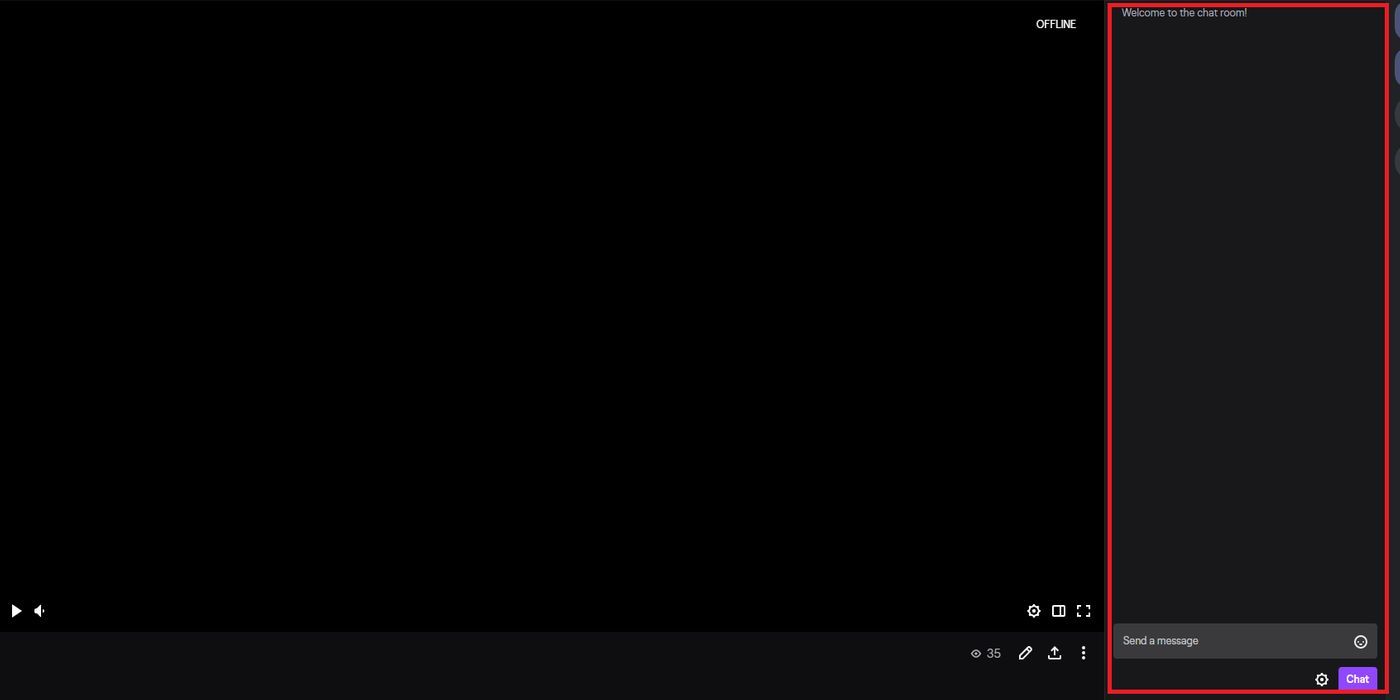
The main page of the channel will consist of a large screen, which is black when no one's streaming. Underneath, any additional information provided about the channel or a previous stream will appear. If this is the first time the channel is accessed, all of it will no doubt be blank.
On the right side of the page, a large dark gray box will appear. This is the Twitch chat room, and it's where supporters talk to streamers. It's also the main place for using Twitch commands.
4 Step 5: Type In Host Command
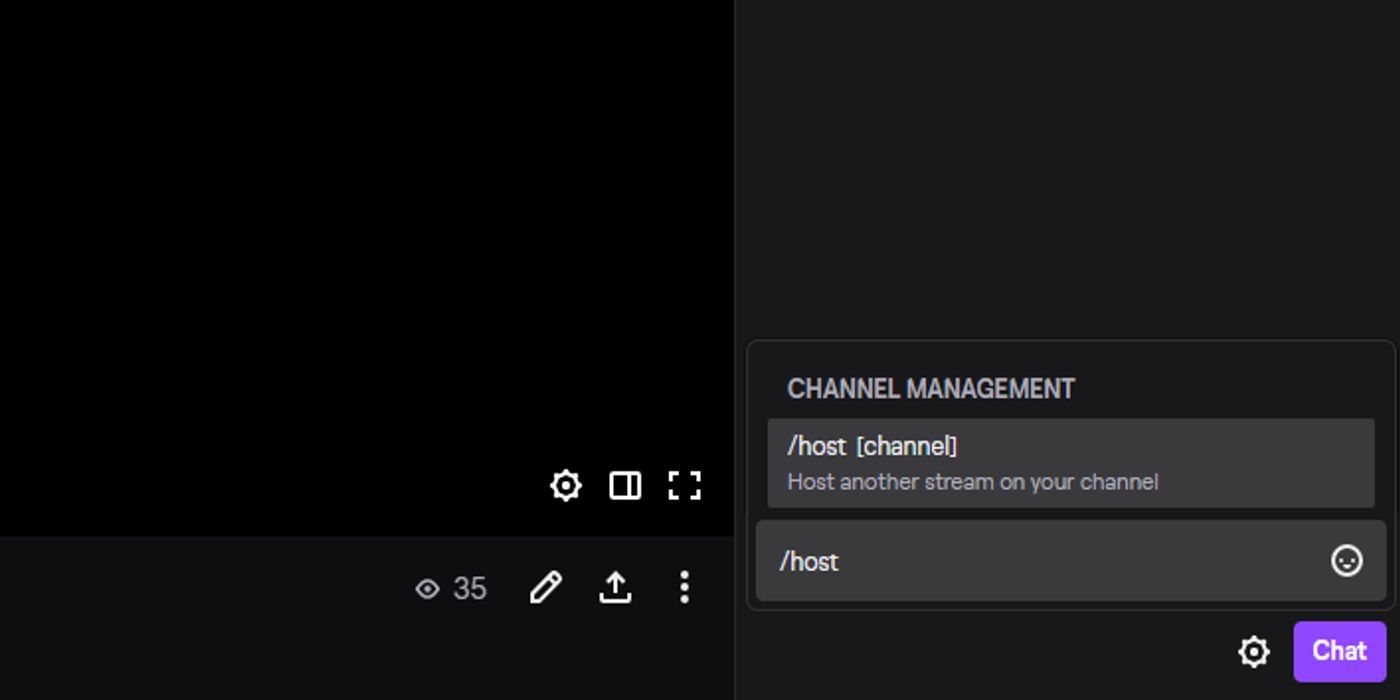
In order to start hosting, click on the text box at the bottom of the chat. A specific command needs to be used in order to begin the hosting process. Type in /host, and a small box will appear above the text box to propose several commands.
It should suggest the hosting command automatically. If for some reason it doesn't, after typing in /host, simply type in the name of the channel without any brackets. Then press Enter. The black screen should now show whatever stream the channel is hosting.
3 Step 6 (Optional): Stop Hosting
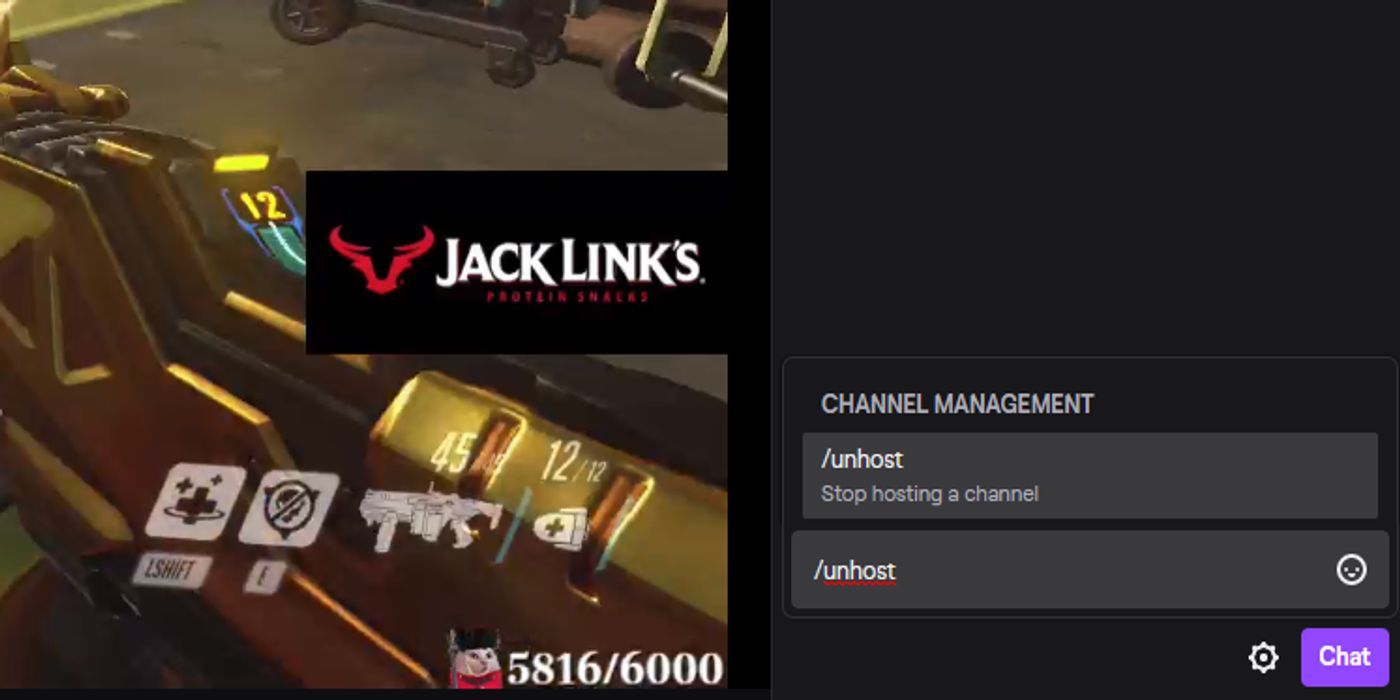
Once a channel is done hosting another streamer, they need to stop the hosting process. It's done very much in the same way as the initial hosting process. Simply go to your channel page and go into the chat once again.
In the text box, type in /unhost and press Enter. This will immediately stop hosting on your channel. There's no need to type in the name of the channel that's being hosted.
2 Step 7: Hosting On Mobile
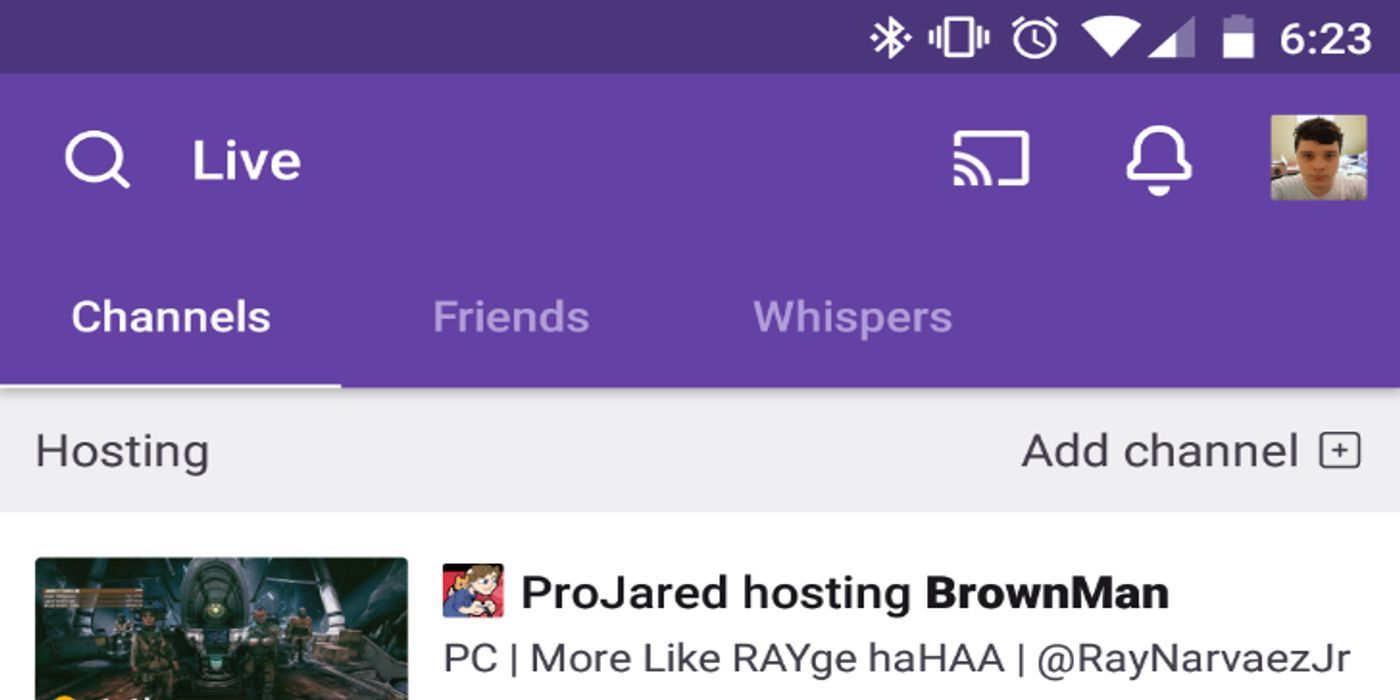
As mentioned, hosting can also be initiated from the mobile app of Twitch and any devices on which this app is available. After downloading the app, go to the main page and press your icon at the corner of the screen. This should take you to your Twitch channel.
Go into the chat and type in /host, followed by the name of the Twitch channel you'd like to host. When done hosting, simply type /unhost in chat again.
1 Good To Know About Hosting
There are a few things to keep in mind when hosting on Twitch. First of all, any of the messages that appear in the host's chat will not actually be seen by the streamer that's currently being hosted. The streamer being hosted will, however, receive a notification if they're being hosted by someone else.
Twitch also allows for streamers to auto host when their channel is otherwise inactive. In the Channel Settings page, streamers can build up a list of channels that Twitch will randomly pick from to then auto host. This is especially useful when there's no time to set up for hosting.
from Game Rant - Feed https://ift.tt/2J9vd0Q
Comments
Post a Comment